It's sort of bittersweet, but Smart Surfaces is, for all intents and purposes, over. It's sort of anti-climatic actually. A semesters of some of the hardest work I've ever done and then it's over. Maybe for me it's just what I feel after any big project but heightened since I missed the final presentation because of a death in my family. Talk about climactic in all the wrong ways.
Anyways, our project is
The iWall Modular Light-Filtration System
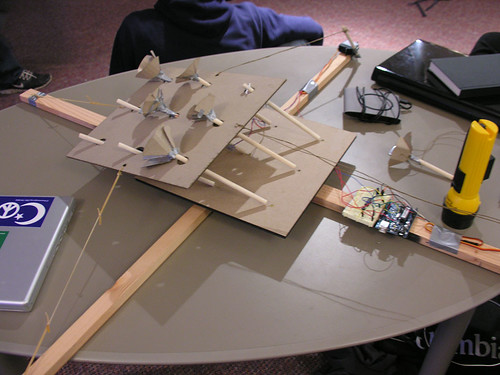
The wall you see here is a modular, scalable, self-adjusting multi-aperture window, designed to optimize light flow into a room by manipulating the position of rotating wood panels. You could call it an 'automatic venetian blind', as that is the gist of the purpose. The system consists of 30 individual modules, with one panel per module, which allow a variable amount of light to pass through. The structural elements are built modularly, but circuitry elements - such as wiring - are set up in a non-modular fashion. Individual module apertures open and close in reaction to the intensity of the light that passes through the wall as detected by light-dependent resistors (LDRs), seen on the projection side, holding a relatively constant light level on the ‘interior’ of the wall at all times - this gives 'heliotropic' and 'smart' characteristics to the wall - 'surface', fitting it into the premise of the SmartSurfaces course. The actual actuation is by a grid of servos powered externally and controlled through inputs from an Arduino Mega and the LDRs. The materials used in the assembly of the individual modules were 3/16" cast acrylic cut by laser and 3/16" 6061 aluminum sheet cut by water jet.

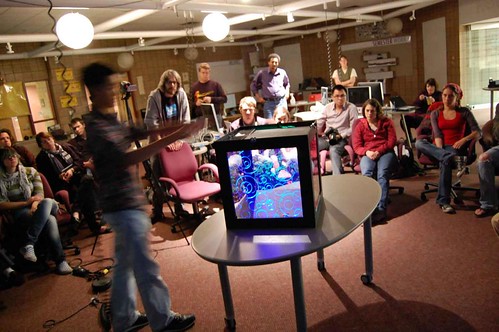
My group presenting our passive lighting system.


The back of the modular wall.


The view through a module to the light patterns created behind the wall.


Each module had it's own servo turning the panels. Each panel was veneered with a curly maple veneer on the back and a thin layer of white polystyrene on the front. The modules are held to each other by 4 bolts per unit.

I am so incredibly happy and proud with how our project turned out. It's one of my favorite pieces I've ever been a part of. It was an incredible amount of work, and an incredible amount of time, and quite a bit of money (Grants are awesome!), and something that I can't wait to show off in my portfolio.
I really enjoyed working with my team. Neil (Engineering) basically coded and figured out how to make the arduino do what we wanted it to do. Big props to Neil. Michael (Engineering) did a little of everything really and was a big help assembling, but single handedly tackled our big final paper and kept the team on budget. Breanna (Architecture) handled the renderings, worked on the CAD design and was part of the assembly team. Taylor (Design) was Mr. Building and worked on CAD design and single handedly made the panels. Josiah (Architecture) worked primarily on assembly and the build team and made a big contribution on the laser cutting and water jet cutting of the raw acrylic and aluminum. I (Design) spent my time water jet cutting the aluminum, laser cutting as small fortune in acrylic, and assembling modules.
I really feel like we had a dream team and I would work with any person in my group again in a heart beat. I'll honestly miss seeing them almost everyday. Perhaps before next semester starts up my group would like to meet for a beer at Ashley's Pub?
I'd also like to thank the professors that ran this course,
John Marshall (Art & Design), Max Shtein (Materials Science Engineering) and
Karl Daubman (Architecture) all did a hell of job. Even though we sometimes felt like guinea pigs as students, the course was a great one and one that defines the Michigan difference. This was an opportunity that would never have been available to me at any other art & design school. A heartfelt thanks to all the professors.
Thanks for reading.